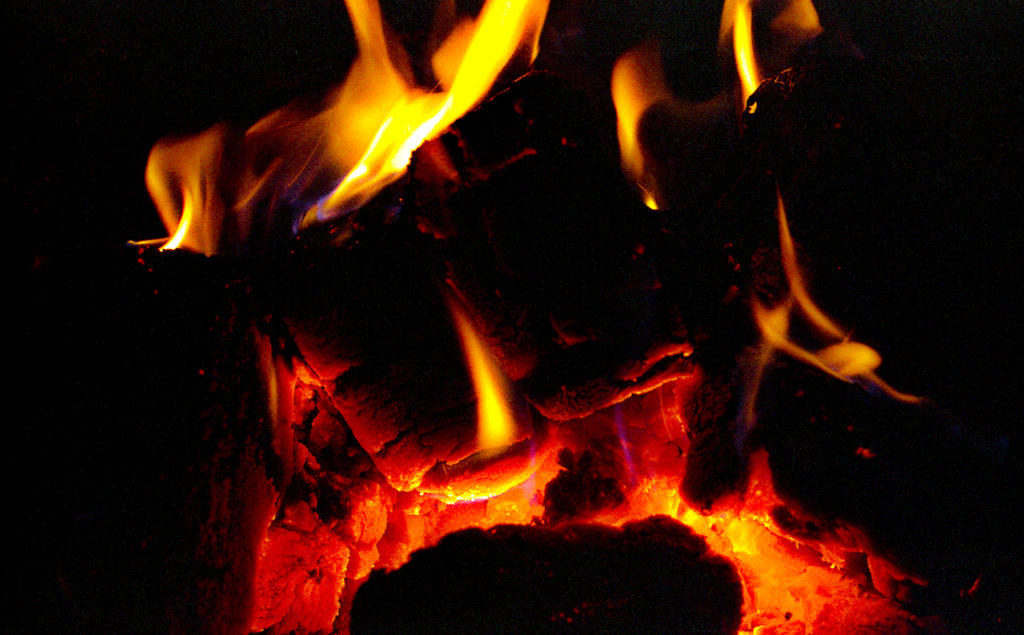
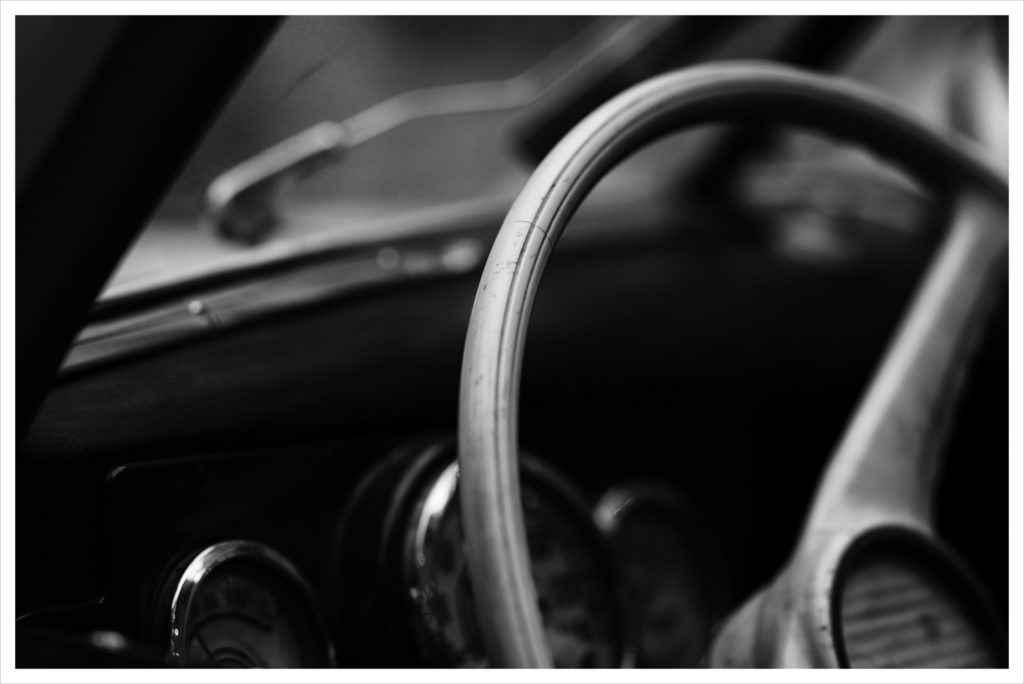
from my storybook Paradox of Fiction
Tuesday. Time to get up for work. The apartment still smelled of apple strudel.
She pulled up the blind and looked at the scene outside. Her pupils widened. It was still dark, but a different kind of dark. Bright. Snow had fallen. The first snow of the season.
She loved snow. It was exactly the change she needed, like a wish granted. The world outside had simply changed color. Like when a chocolate bar gets a prettier wrapper, and suddenly, you believe that this one—wrapped just so—will taste absolutely perfect.
She looked forward to letting in the crisp, cold, winter-scented air. Throwing the window wide open, she inhaled deeply.
Yes. This is exactly what I love, she thought. The air, mingling with the aroma of apple strudel, delivered an almost Christmas-like serenity. She nearly forgot it was just an ordinary weekday.
Wow… what a shame.
The beautiful moment lasted only a second. Reality snapped back. Wash up, make coffee. He’d left his little flakes of luck behind. Check the news, see what happened overnight, then off to work.
What mattered was that the day had started well.
She opened the door… and then everything went to hell.

The windshield wipers fought valiantly to keep the glass clear. In vain. The relentless rain seemed to intensify with each swipe. He slowed down, turned on the hazard lights, and focused on keeping the car on the road.
As if this day could get any worse.
It was Tuesday, and he couldn’t recall a single Tuesday in his entire life worth remembering.
Lil had vanished that morning, he’d had to stay late at work, and now this. Two hundred kilometers still to go.

He was dead tired. If it were possible, he’d just fall asleep right there. But it wasn’t possible—not now, not ever. Never.
Even the idea of simply closing his eyes and dreaming drove him mad. To just close them and dream.
Can you wish for a dream? A pleasant one?
What are pleasant dreams even about? Scenarios? Feelings? Colors and scents? Sounds?
He opened his eyes, and the last thing he saw was the rough bark of an enormous oak tree he passed every day.
There was no time for analysis, no time for feelings. Only the familiar scent of cinnamon and the sound of a long, drawn-out tone.
The sky turned lilac.
All photographs and texts are my own and are protected by copyright law. Their use is permitted only with my written consent.

